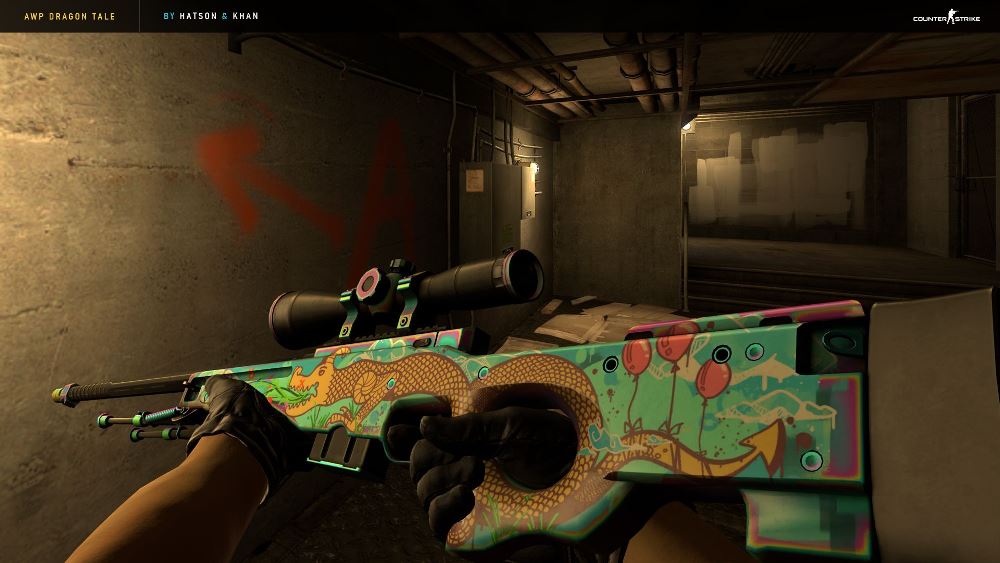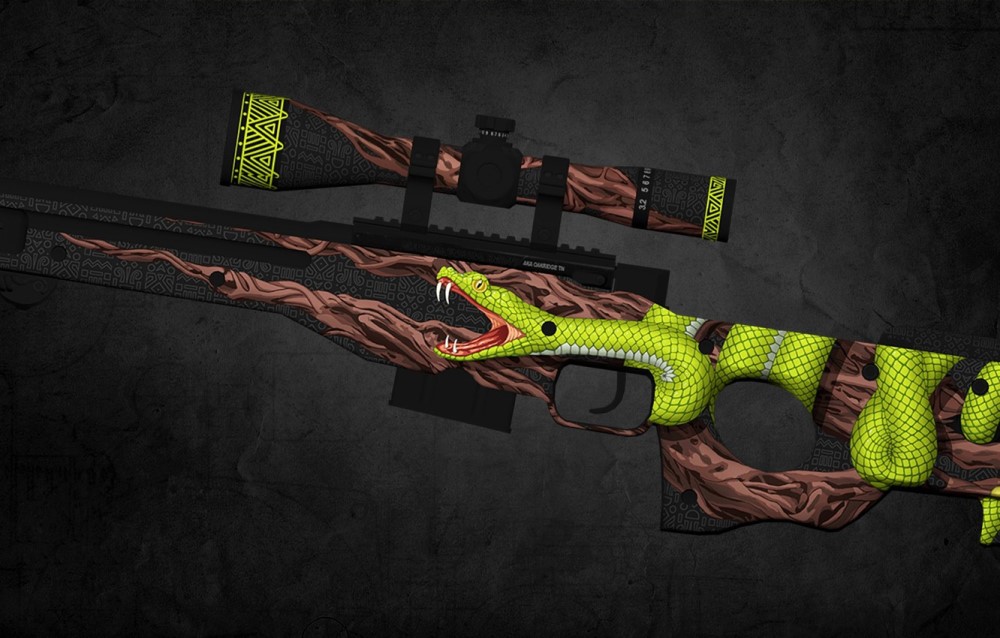
You can create your own CS:GO (Counter-Strike: Global Offensive) skins. Valve, the company behind CS:GO, has provided tools to enable players to create their own weapon skins. The process generally involves creating a design, testing it, and submitting it to the Steam Workshop where it might be chosen to be included in the game.
Here is a general step-by-step process:
- Get the Necessary Tools: The first thing you need is a graphics software like Photoshop or GIMP to design your skin. You also need Valve’s texture files for the weapon you want to design a skin for.
- Create Your Design: This is where you get to let your creativity shine. Use your graphics software to create a design for your skin. Make sure your design fits within the boundaries of the texture file.
- Test Your Design: Valve provides a program called the “Workbench” where you can test your design on a 3D model of the weapon. This allows you to see how your design will look in the game.
- Submit Your Design to the Steam Workshop: Once you’re happy with your design, you can submit it to the Steam Workshop. Here, other players can view and rate your design. Valve often chooses the most popular designs to be included in the game.
- Wait for Approval: If your design is chosen by Valve, they will reach out to you about including it in the game. If they do, you’ll receive a portion of the profits from the sale of your skin.
Remember to follow all guidelines provided by Valve when creating your design. This includes avoiding copyright infringement, violent imagery, and other inappropriate content.
Please note, creating a skin does not guarantee it will be included in the game, but it’s a fun process and a way to potentially contribute to the game community.
Get the Necessary Tools
To design your own CS:GO skin, you need to have the right tools and resources for the job.
Here’s what you’ll need:
- Graphics Software: You need a good graphics editor that can handle complex designs and textures. Adobe Photoshop is the industry standard for graphic design and it’s widely used by professionals, but it is a paid software. If you’re looking for free alternatives, GIMP (GNU Image Manipulation Program) and Paint.net are solid options.
- Weapon Texture Files: These are the files that contain the template for the weapon skin. You can find these texture files in the CS:GO game files, or you can download them from various online resources. They are usually in .vtf or .tga format.
- Valve’s Workbench Tool: This is the tool that Valve has provided for users to preview their skins in a 3D model. It is available within CS:GO game itself.
Here are the steps to get to the Workbench tool:
a. Open CS:GO.
b. Click on ‘Workshop’ at the top.
c. Click on ‘Publish A New Workshop Resource’.
d. Select ‘Weapon Finish’ and click ‘Next’.
e. Click on ‘Open Weapon Finish Workbench’ to open the Workbench tool.
- VTFEdit: This is a tool for creating and converting .vtf files (Valve Texture Files). This is needed if you want to convert your skin into a format that CS:GO can read. You can download this tool for free online.
5. Knowledge of 3D Modeling: While not strictly necessary, having some knowledge of 3D modeling and how textures work on 3D models can be very beneficial when designing your skin. There are many online resources available where you can learn the basics of 3D modeling.
Remember, designing a good skin takes time and practice. Don’t be discouraged if your first few attempts aren’t as good as you’d like. Keep trying and keep learning and you’ll get better over time.

Create Your Design skin
Creating your own CS:GO skin design involves multiple steps.
Here is a general step-by-step guide:
- Choose the Weapon: Decide which weapon you want to create a skin for. Each weapon has its own texture file, so the choice of weapon will determine the file you will work with.
- Get the Weapon Texture File: Download the appropriate weapon texture file. The file contains the layout of the weapon’s skin which you can use as a guide for your design.
- Open the Texture File in Your Graphics Software: You’ll need to open the texture file in a graphics editor like Adobe Photoshop or GIMP. This will allow you to directly apply your design to the weapon’s texture.
- Design Your Skin: This is the most creative step. You’ll need to create a design that fits within the layout provided by the texture file. This could be anything from simple patterns and colors to complex artwork. Keep in mind the weapon’s 3D shape and how your design will wrap around it.
- Save Your Design: Once you’re satisfied with your design, you’ll need to save it in a format that can be read by the CS:GO workbench. This is usually a .tga or .vtf file. You might need a special tool like VTFEdit to convert your file to the correct format.
- Test Your Skin in the Workbench: Import your skin into the CS:GO workbench to see how it looks on the 3D model of the weapon. This will allow you to check if your design properly aligns with the weapon’s shape and correct any issues before you finalize your skin.
Remember, creating a good skin design requires creativity, patience, and attention to detail. Your design should be unique, visually appealing, and fit well with the weapon’s shape. It may take several attempts to create a design you’re satisfied with, but don’t get discouraged. With practice and persistence, you can create a great skin design.
Test Your Design
To test your CS:GO skin design, you’ll use the built-in Workbench tool in the game. This tool allows you to see how your skin will look on a 3D model of the weapon.
Here are the steps:
- Open the Workbench: You can access the Workbench from within CS:GO. Go to the main menu, click on ‘Workshop’, then ‘Publish a new workshop resource’. Choose ‘Weapon Finish’ and then ‘Open Weapon Finish Workbench’.
- Load Your Skin: Once the Workbench is open, you will need to load your skin. Click on ‘Select’ next to ‘VTF Texture’, navigate to where you saved your .vtf file, and open it.
- Set the Weapon: Choose the weapon you designed your skin for by clicking on ‘Select’ next to ‘Weapon’. A dropdown list will appear with all the available weapons.
- Adjust Your Skin: Once your skin is loaded onto the weapon, you can adjust various parameters to make sure it looks just right. This includes the ‘Wear Remapping’ sliders, which control how your skin will look as it wears down in-game.
- Preview Your Skin: Click ‘Update Preview’ to see how your skin looks on the weapon. The model can be rotated and zoomed in/out to view your skin from all angles. Make sure your design aligns well with the shape of the weapon and there are no noticeable distortions.
- Save Your Skin: If you’re satisfied with how your skin looks, save your settings by clicking on ‘Save As…’ next to ‘Settings’. If you’re not satisfied, you can go back to your graphics software, make changes, and then come back to the Workbench to test your skin again.
Keep in mind that the appearance of your skin can greatly vary depending on its wear. So, make sure to slide the ‘Wear’ slider back and forth to preview your skin at different levels of wear.
Remember, creating a good skin takes time and experimentation, so don’t be discouraged if you need to go back and make adjustments to your design.
Submit Your Design to the Steam Workshop
Submitting your CS:GO skin to the Steam Workshop is the final step in getting your design out into the world.
Here’s a step-by-step process:
- Finalize and Save Your Skin: Make sure that your skin design is exactly how you want it. Double-check everything and save your design in the correct format (.vtf or .tga).
- Take Screenshots: You will need screenshots of your skin to use as preview images on the Workshop. You can take these screenshots within the CS:GO workbench. Ensure that the screenshots clearly display your skin and are high-quality.
- Prepare a Description: Write a brief description of your skin. You can include any information you think is relevant or interesting, like the inspiration behind your design.
- Open the Steam Workshop: Open CS:GO, then go to the ‘Workshop’ tab on the main menu. Click on ‘Publish a new workshop resource’.
- Choose ‘Weapon Finish’: You will be asked to choose the type of resource you are submitting. Choose ‘Weapon Finish’ and click ‘Next’.
- Fill in the Details: You’ll be asked to fill in a title for your skin, the path to your saved workbench settings file (.txt), a brief description, and to upload preview images. Fill in all the fields as accurately as possible.
- Agree to the Terms and Conditions: Read and agree to the Steam Workshop Terms and Conditions. This is very important as violating these terms could lead to your skin being rejected or removed.
- Submit Your Skin: Click on ‘Submit’. If everything has been filled out correctly, your skin will be uploaded to the Workshop.
Once your skin is on the Workshop, other players can view, rate, and comment on your design. If your skin is popular and Valve selects it, it could potentially be added to the game. Remember to engage with comments and encourage others to view your design. Promoting your skin can help increase its visibility and chances of being selected.
Wait for Approval
Once you’ve submitted your CS:GO skin to the Steam Workshop, it becomes available for community members to view, rate, and comment on. This feedback can be very helpful, as popular items have a better chance of being noticed by Valve and included in the game. However, there’s no set timeline for when or if Valve will approve a skin.
It’s important to note that the approval process isn’t entirely clear and it’s up to Valve’s discretion to decide which skins get added to the game. Valve typically looks for high-quality, original designs that fit within the aesthetic of CS:GO. They also consider the community’s response to a design, so skins with a lot of positive feedback have a higher chance of being selected.
If your skin is chosen, Valve will reach out to you directly. They’ll likely discuss terms with you, as creators receive a portion of the profits from the sale of their skins in the game.
Here are a few tips while you’re waiting for approval:
- Stay Active in the Community: Engage with users who comment on your design. Participate in discussions and take onboard constructive criticism. This will not only help improve your design but also increase its visibility.
- Keep Creating: Don’t stop at one skin. The more high-quality designs you create, the better your chances of getting noticed by Valve.
- Be Patient: Approval can take time. It can be weeks, months, or even longer. Don’t get discouraged if your design isn’t selected immediately.
- Promote Your Work: Share your design on social media, gaming forums, and other platforms. The more visibility your design gets, the better its chances of being chosen.
Remember, creating skins should be a fun and creative process. Even if your skin doesn’t get chosen, the experience you gain from creating and submitting a design can be very valuable.


